Curriculum
Creating Core Symmetry for Maximum Range of Motion
-
Fibonacci and Wright Balance®Stance Widths (Lesson 1)
-
Fast Track to the Wright Balance® Core Optimization Exercises (Lesson 2)
-
Core Optimization and Points of Balance by Core Region (Lesson 3)
-
Measuring the Planes of Motion (Lesson 4)
-
Wright Balance® Optimization Exercises for Pain Management & Mobility (Lesson 5)
-
The Wright Balance Express: A Core Stability Exercise (Lesson 6)
-
Jaw Symmetry (Lesson 7)
-
Core Memory, Breathing & Exercise (Lesson 8)
-
Exercise Results (Lesson 9)
-
Functional Assessment (Lesson 10)
-
Tensegrity: The Bio-Mechanism of Change (Lesson 11)
-
Wright Balance® Advances (Updated November 2024)
Fast Track to the Wright Balance® Core Optimization Exercises (Lesson 2)
Fast Track to the Wright Balance® Express & Core Optimization Exercises
A pre-stressed system like our bodies (skeleton ligaments, tendons, muscles and fascia) that has tension added via the isometric exercises in the 9 Core Region Stance Widths “returns” to its original state of symmetry when isometric tension is applied.
The Wright Balance® Express consists of two isometric exercises in each of the 9 Stance Widths. The Wright Balance® Express stabilizes the Core in all Planes of Motion. The Wright Balance® Optimization consist of 4 isometric exercises done in a standing tall posture in each of the 9 Core Region Stance Widths. The Wright Balance® Optimization Exercises are done only following the Wright Balance® Express exercise. The Wright Balance® Optimization Exercises are for flexibility and Pain Management.
The Express and Optimization exercises isolate each region of the core in the Horizontal and Vertical Planes. There are 4 functional tests of “Proof” of Balance & Symmetry. I will review these exercises and Tests of “Proof” in this EBook in photos and a video. You will be able to demonstrate these functional tests of “Proof” for yourself and your students.
For those of you reading this EBook for a quick summary of how to do the exercises, you must have the 9 Core Region Stance Widths from the results described in the Level 1 Certification. Doing either of these exercises without using the 9 Stance Widths from the results or simply omitting one of the 9 Stance Widths during the exercise will completely disrupt your core to a worse state than prior to the exercise. In this Ebook I will show you how to determine if you did all of the 9 Stance Widths and proof of concept at every new intervention.
NOTE: Again, if you do the exercises described in the following video in any Stance Widths other than the 9 Core Region Stance Widths provided by your Wright Balance® Professional, you will disrupt your Core Balance and Symmetry creating soreness, imbalance, a restriction in mobility and a compromised posture. There will also be a potential for injury with any “compression” activity including lifting.
For those of you who want to move right to the isometric exercises, this video is guided practice in the Wright Balance® Optimization program. You should do the Wright Balance® Express Exercises Prior to the Wright Balance® Optimization Exercises.
MAJOR EMERGENCE of Wright Balance® Breakthrough: As of July, 2021 we have a major breakthrough in recruiting new “ZONES” of the Core. I will expand on this in later certification Lessons. These Zones are “recruited” during the Wright Balance® Express and Optimization Exercises by placement of gauze tape on any 3 fingers of either hand. The illustrations below show the exact place on the middle finger only for the purpose of showing the correct placement. When doing the Wright Balance Express, you will be holding the handle of some implement and it will be easier to grip if you place the gauze tape on separate fingers in the locations shown. Note: You only need 3 pieces of gauze tape, one piece placed in each of the locations shown below.
Placement of the gauze tape should be on the first pad up from the palm of any finger as illustrated here:
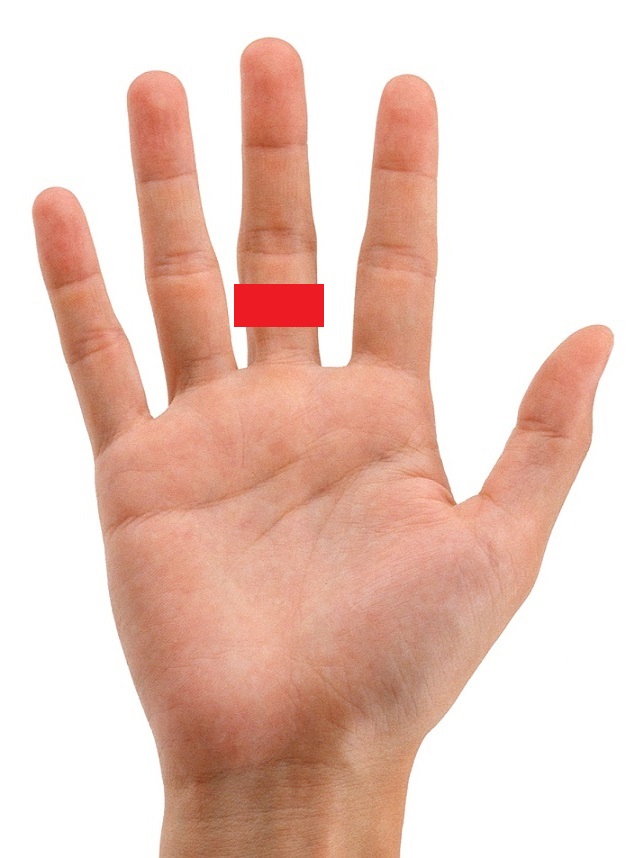
…the first knuckle of any finger…
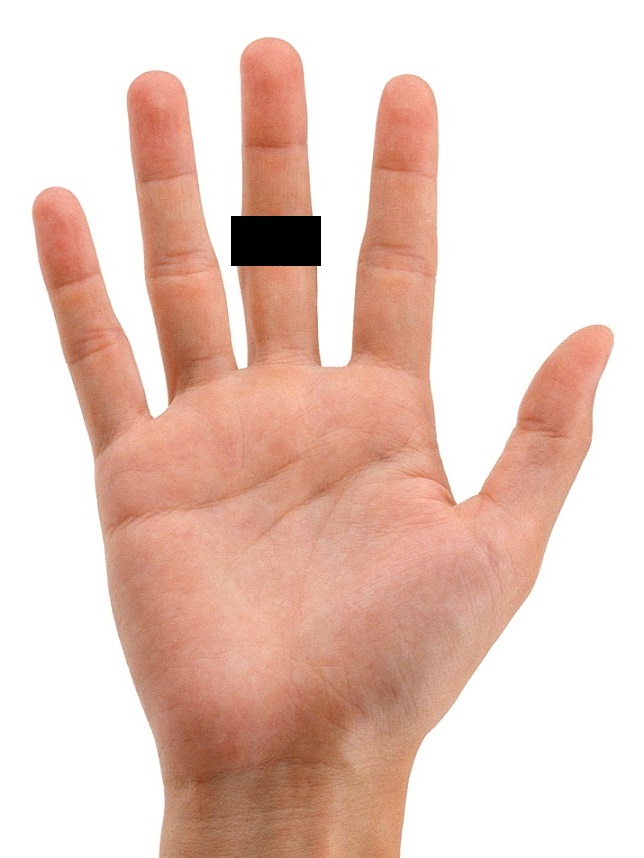
… and the second pad up of any finger.
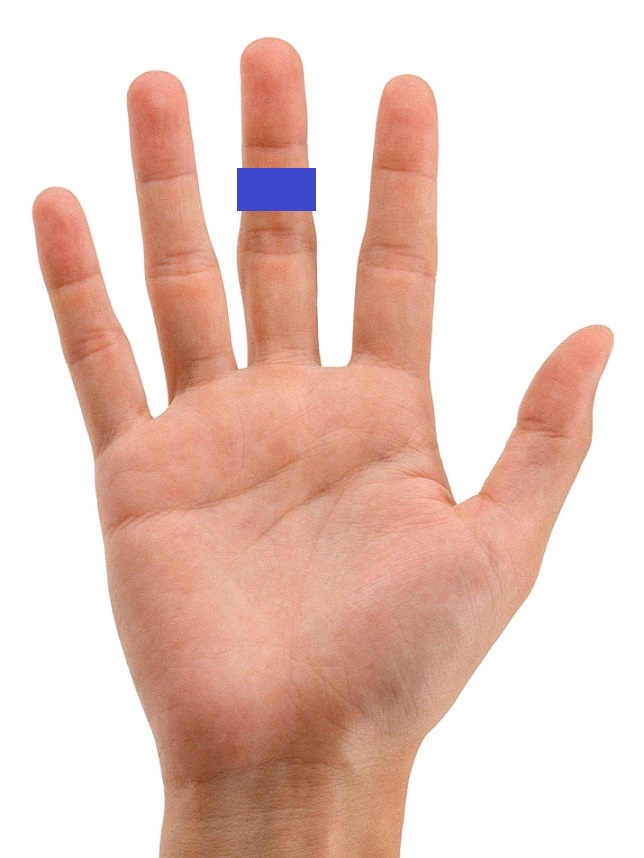
The discovery of the 3 Wright Balance® Core Zones was made after these videos were completed. The exercises shown in these videos do not show the use of the gauze tape on the fingers. I would encourage you to place the gauze tape on the fingers when you do the exercise.
What happens if the gauze tape is not used during the Exercises? You will still experience change and demonstrate proof of concept. These changes will be in only one of the the 3 Core Zones. I will show you later in the certification process what this means. If you want total protection of the Core, use the Gauze tape on 3 fingers with one on each of the Power Spots as shown in the illustrations.
The following video is of the Wright Balance® Express Exercises. These exercises show the greatest resistance to disruption in daily activities. I strongly encourage these exercises for everyone for Core Stability. As noted, the Wright Balance® Express Exercises should be done prior to the Wright Balance® Optimization Exercises.
The Wright Balance® Express exercises take 3 to 5 minutes and requires the handle of an implement be held vertically with the hands touching on the handle. If the handle is not held vertically or if the hands are not touching, the Wright Balance® Express will only disrupt the Core creating a restriction in mobility and a compromised posture. There will also be a potential for injury with any “compression” activity, like lifting.
The Wright Balance® Express should be done first thing every morning for absolute symmetry and balance to protect the back when lifting and balance in general. The implications for this exercise long term is significant in every application.
The following video is the Wright Balance® Opeimization Exercise. Note that this exercise has 4 distinct positions for an isometric hold. The Wright Balance® Optimization Exercise follows the Wright Balance® Express Exercise is for Pain relief, Mobility and Posture. If it is done without first doing the Wright Balance® Express exercise, the resistance to disruption is minimal. If the Wright Balance® Optimization Exercise is done following the Wright Balance Express, the effects of the exercise will be long lasting.
If you become distracted and “miss” doing the Wright Balance® Exercises in one of the 9 stance widths, your core will be more disrupted than when you started. Here is a video that demonstrates a simple self test to determine if you completed exercise in all the 9 stance widths. This “test” will take all of 15 seconds to determine if you have missed one of the 9 Stance Widths.
This video demonstrates how to not only test whether you have done the Wright Balance® Exercises in all 9 stance widths, you will also be able to determine the “intensity” of the exercise whether it is the number of breaths or the increased duration of the isometric hold.
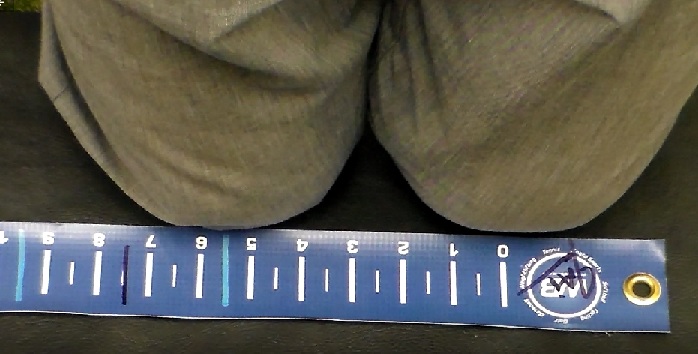
If your student or client is unable to stand while doing the Wright Balance® Optimization Exercises, for example in a rehabilitation setting, it is important to remember that all of the initial research was done with the person on their knees. The width of the knees was used at the Stance Width intervals. We still had 9 Core Regions. The photo below was taken during a Wright Balance Golf School in Mazatlán, Mexico. All of the students did the entire exercise program setting the width of their knees and holding each of the 9 Stance Widths for 1 minute on all 4s.
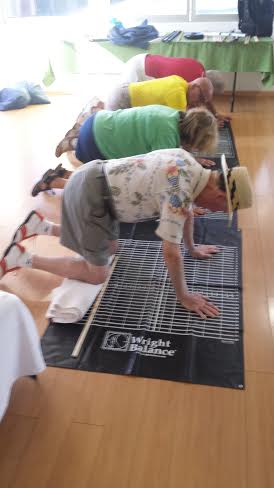
As long as the width of the knees is the same as the 9 Core Region Stance Widths, there is a correction of Asymmetry of the Transverse Plane one Core Region at a time. The “all fours” planks have been tested on a mattress and the Core has been balanced. Research is pending to determine the duration of the impact of this Core Exercise for medical, rehabilitation and assisted living environments. However, this exercise on the knees impacts only the Horizontal or Transverse Plane on the front of the Core.
